


Completed Look
Step One: Paint Your Base (optional)
I totally forgot to take a picture, but i used Nailene French Manicure in Petal Pusher. This gives a really nice natural sheen but is also very sheer. It helps to even out your nails while still giving it kind of an iradescent sheen to it.
Step Two: Paint Your Tip
Using your base color (i chose to use GOSH's Wild Lilac), paint a thick french tip. Even if your nails havent grown out yet, you can adjust the thickness of the tip to whatever size you want. I like to take mine in a bit further :)
Quick Tip: To easily paint these tips, take your brush and starting from the outer corner, draw a diagonal line towards the center. do the same from the other side creating a V shape. then, continue to go over this guide and slowly smooth it out. Because my first coat often applies quite sheer, i like to let it dry and apply a second coat. Practice makes perfect so if you cant get it the first couple times, keep practicing!
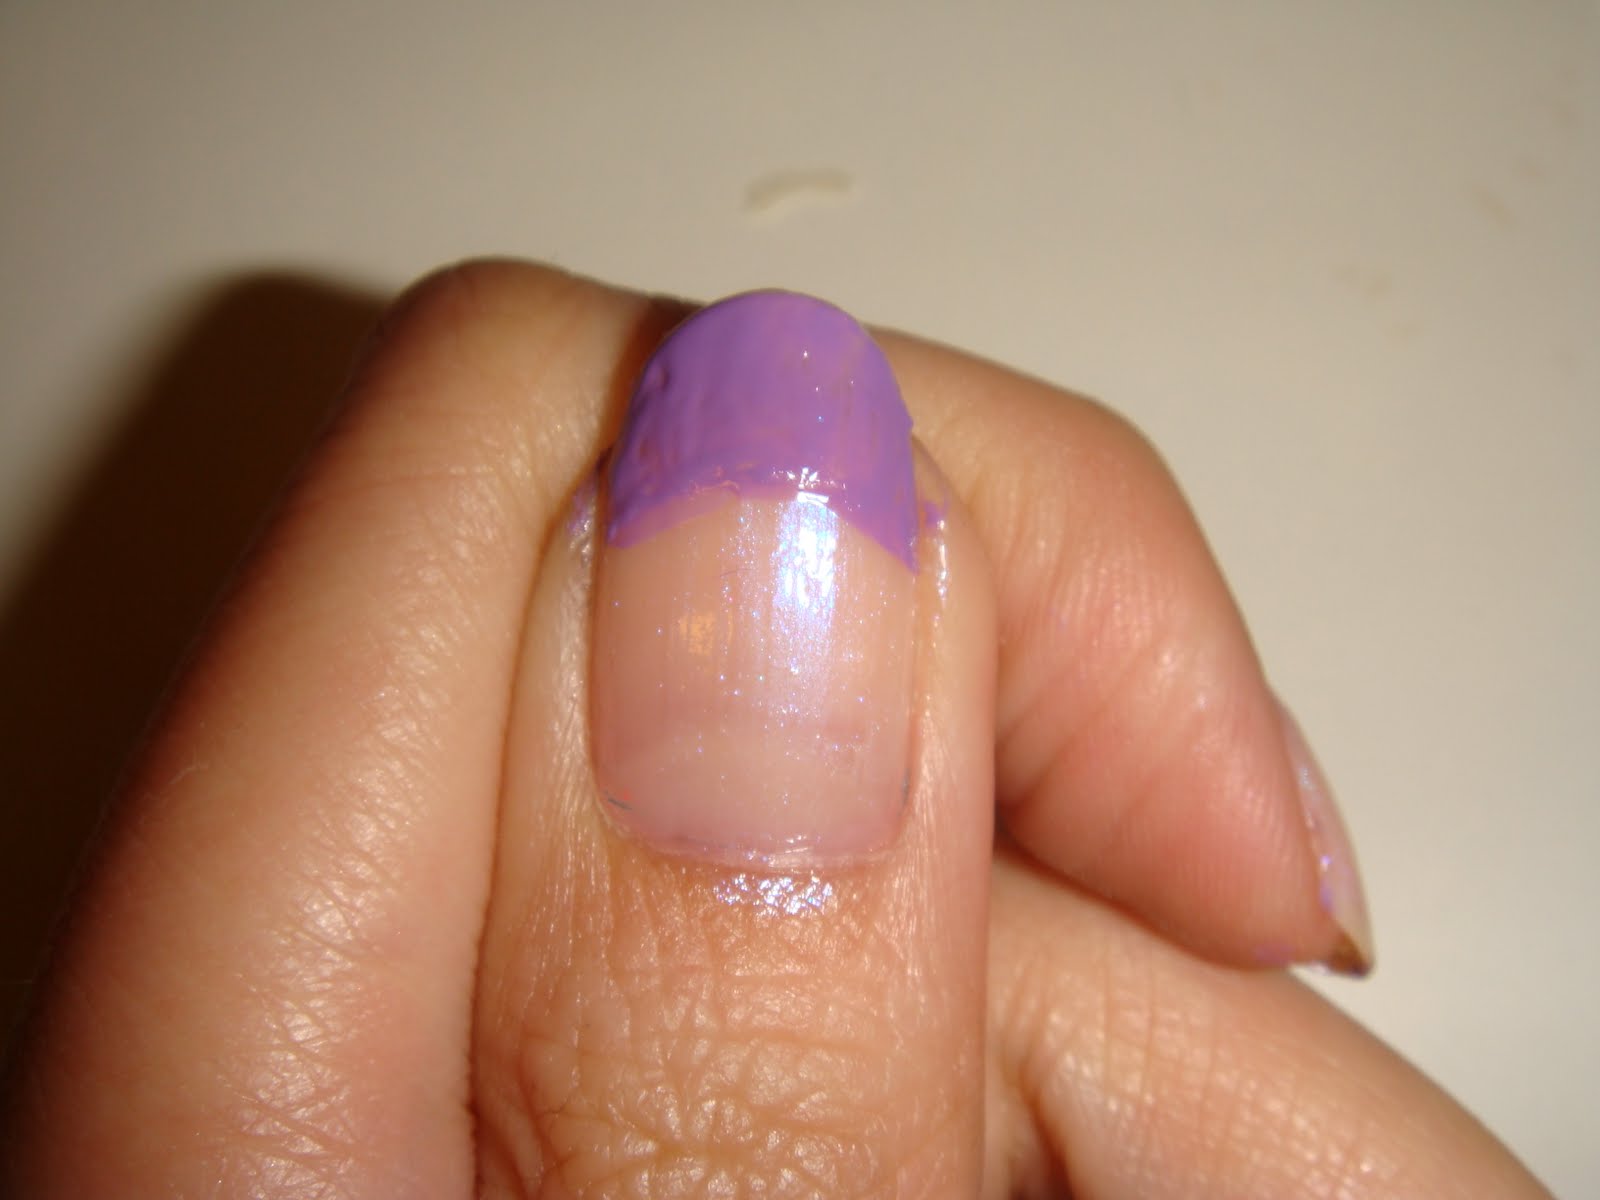
This is what mine looked like after painting the tips.. you can stop at this step if you want, it actually looks pretty good! but of course, i wanted to add polka dots :)

Step Three: Add Your Dots
Taking your second nail color and a bobby pin (Or if you have a dotting tool, thats even better!), open up the bobby pin until it is a V-shape. Either pour some polish out and dip the round ends in the nail polish or use the brush to brush some on the ends. Then, simply add dots onto the tip!

I used my L.A. Colors Art Deco in White

This is what mine looked like. Theres no particular order for the dots, just dot randomly!
Step Four: Add a line (optional)
This is an extra step for those who want to create a more defined look. Just take a darker color, (i used a dark shimmery purple) and draw a line in the middle.


And you're done!
I actually chose to take off the line as i like how it looked without better. this is completely up to you :) play around and see what you like better! Here are the pictures of my final NOTD:

I hope you enjoyed this! This simple NOTD is currently my favourite :) It doesnt take long to do but there are endless possibilities! Mix & Match different colors.. you can even experiment with more than 2 colors if you want! Share your ideas or let me know if theres a specific nail art design you'd like me to try :)

Blogger Templates


